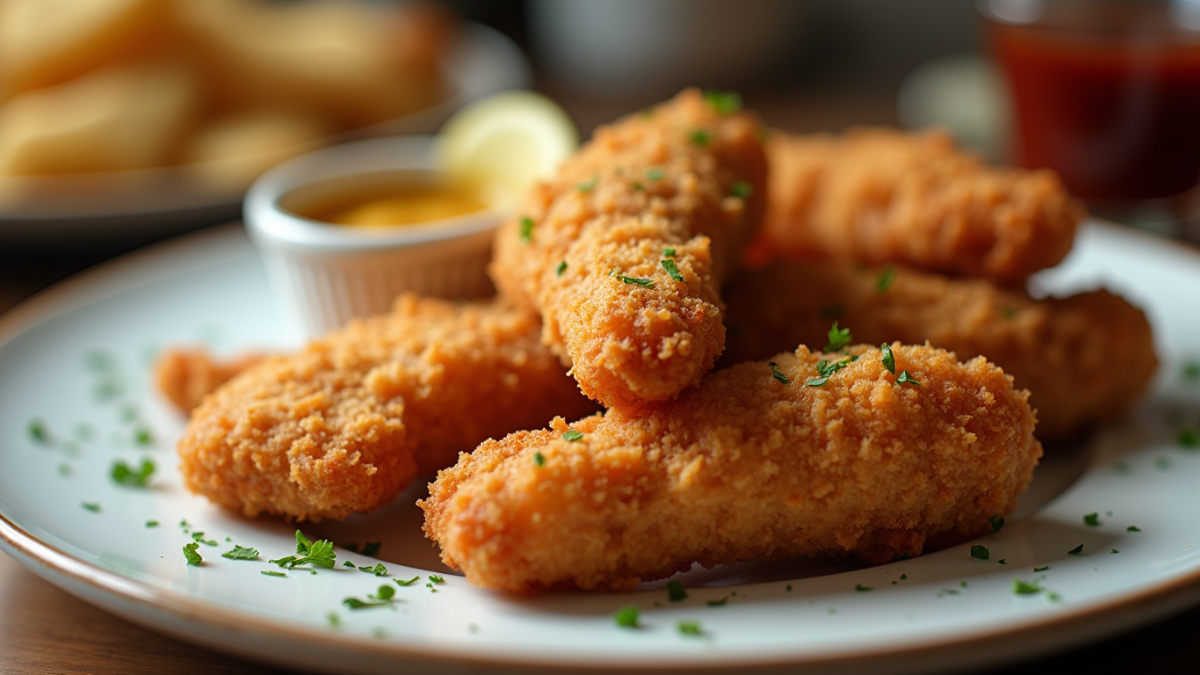
The Secret to Perfect Crispy Chicken Fingers
Did you know Americans spend over $2 billion yearly on chicken tenders at restaurants? 🍗
Yet, those crispy, juicy chicken fingers you crave don’t need to come from a drive-thru window. With the right technique and a few chef-approved secrets, you can make restaurant-quality chicken tenders right in your kitchen.
The perfect fried chicken fingers recipe combines a crunchy, golden-brown coating with tender, succulent meat inside. Whether you prefer them pan-fried or deep-fried, these homemade fried chicken fingers will rival any restaurant version – at a fraction of the cost.
Ready to master the best fried chicken fingers recipe that will have your family begging for seconds? Let’s discover the essential tools, professional techniques, and troubleshooting tips you need to succeed.
…Table of Contents
Essential Equipment and Setup for Perfect fried chicken fingers
Success in making the perfect fried chicken fingers starts with having the right tools and setup. Creating restaurant-quality results requires proper equipment and an organized workspace.
Must-Have Tools and Equipment
Before you start cooking, gather these essential tools for the best results:
- Heavy-bottomed Dutch oven or deep pot
- Deep-fry thermometer and digital probe thermometer
- Two sets of long tongs
- Wire cooling rack and baking sheets
- Shallow bowls or pie plates for breading
- Mesh strainer for flour
Setting Up Your Breading Station
Creating an efficient breading station is crucial for professional results. Follow these steps:
- Prepare three shallow bowls or pie plates
- Place seasoned flour in the first bowl
- Beat eggs with water in the second bowl
- Add breadcrumbs and seasonings in the third bowl
- Position a clean baking sheet at the end for breaded pieces
Pro Tip: Keep one hand for dry ingredients and one for wet ingredients to prevent breading from clumping on your fingers.
Oil Temperature Control Tips
Maintaining proper oil temperature is critical for perfectly crispy fried chicken fingers. Heat your oil to 365°F before starting. Use a deep-fry thermometer with these guidelines:
Set your temperature alarms for 345°F (lower limit) and 365°F (upper limit). If you notice the temperature dropping below 300°F, remove the chicken and allow the oil to reheat. For best results, fry in small batches – about 1.5 pounds of tenders per batch.
Remember to use a heavy-bottomed pot, as it retains heat better and helps maintain consistent temperature. Position your thermometer properly using a pot clip to monitor oil temperature throughout the cooking process.
Mastering the Double-Dredge Breading Technique
The secret to restaurant-quality fried chicken fingers lies in mastering the double-dredge technique. This method creates that irresistibly crispy coating while keeping the meat tender and juicy inside.
The Science Behind Ultra-Crispy Breading
The double-dredge technique works by creating an insulating layer between the hot oil and your chicken. This protective barrier prevents moisture loss, ensuring your chicken stays juicy while developing that golden-brown exterior. The buttermilk in your coating contains enzymes that help tenderize the meat, while cornstarch mixed with flour creates an exceptionally crispy crust.
Step-by-Step Breading Process
- Initial Preparation: Thoroughly pat the chicken dry with paper towels.
- First Dredge: Coat in seasoned flour mixture (add 1 tablespoon salt per cup of flour)
- Egg Wash: Dip in beaten eggs thinned with buttermilk or water
- Second Dredge: Return to flour mixture, pressing firmly to adhere
- Rest Period: Let the breaded pieces rest for 5 minutes before frying
Common Breading Mistakes to Avoid
- Wet Chicken: Starting with damp chicken prevents proper flour adhesion
- Under-seasoning: Season both the meat and the breading mixture
- Thick Coating: Excessive breading leads to uneven cooking
- Impatient Frying: Moving the chicken too much causes breading to fall off
For maximum crispiness, maintain your oil temperature between 325-350°F. Remember to let the breaded pieces sit briefly before frying – this helps the coating become slightly gummy, resulting in an even crispier finished product.
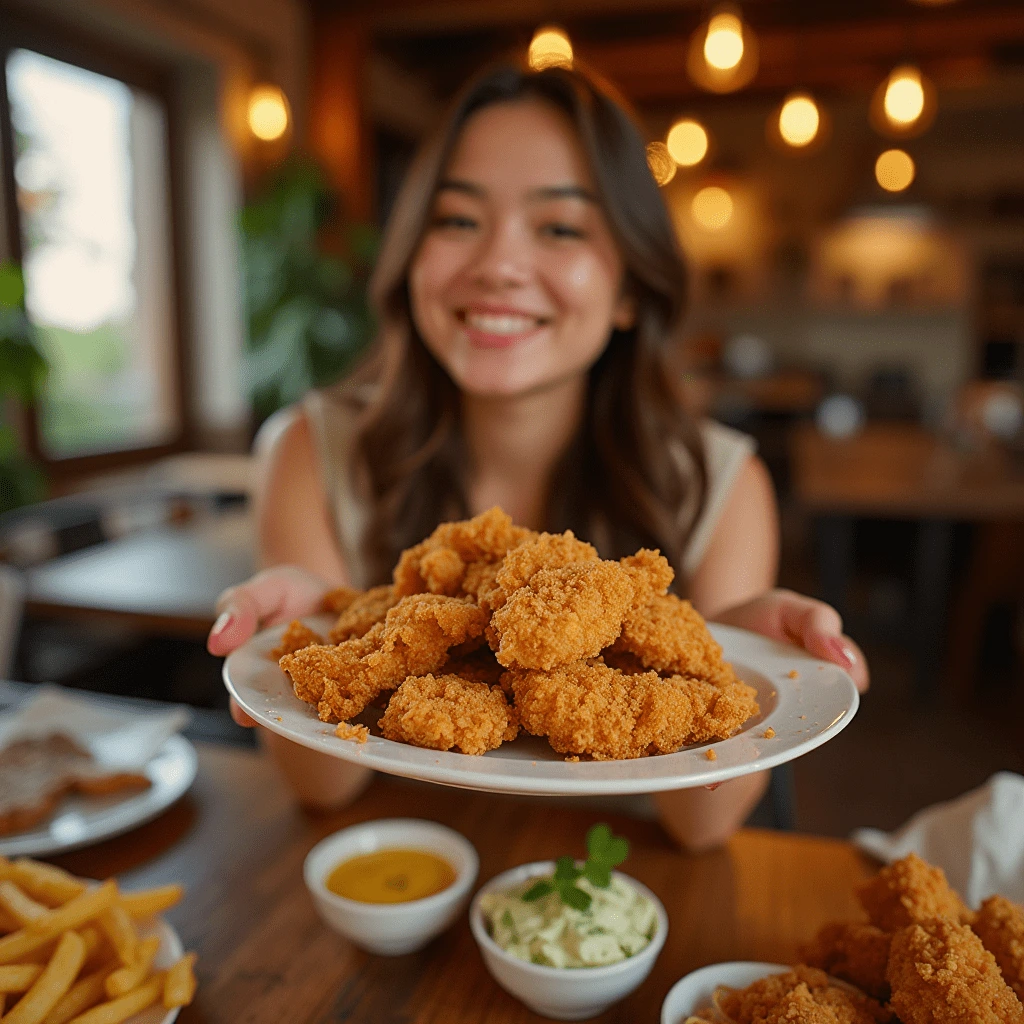
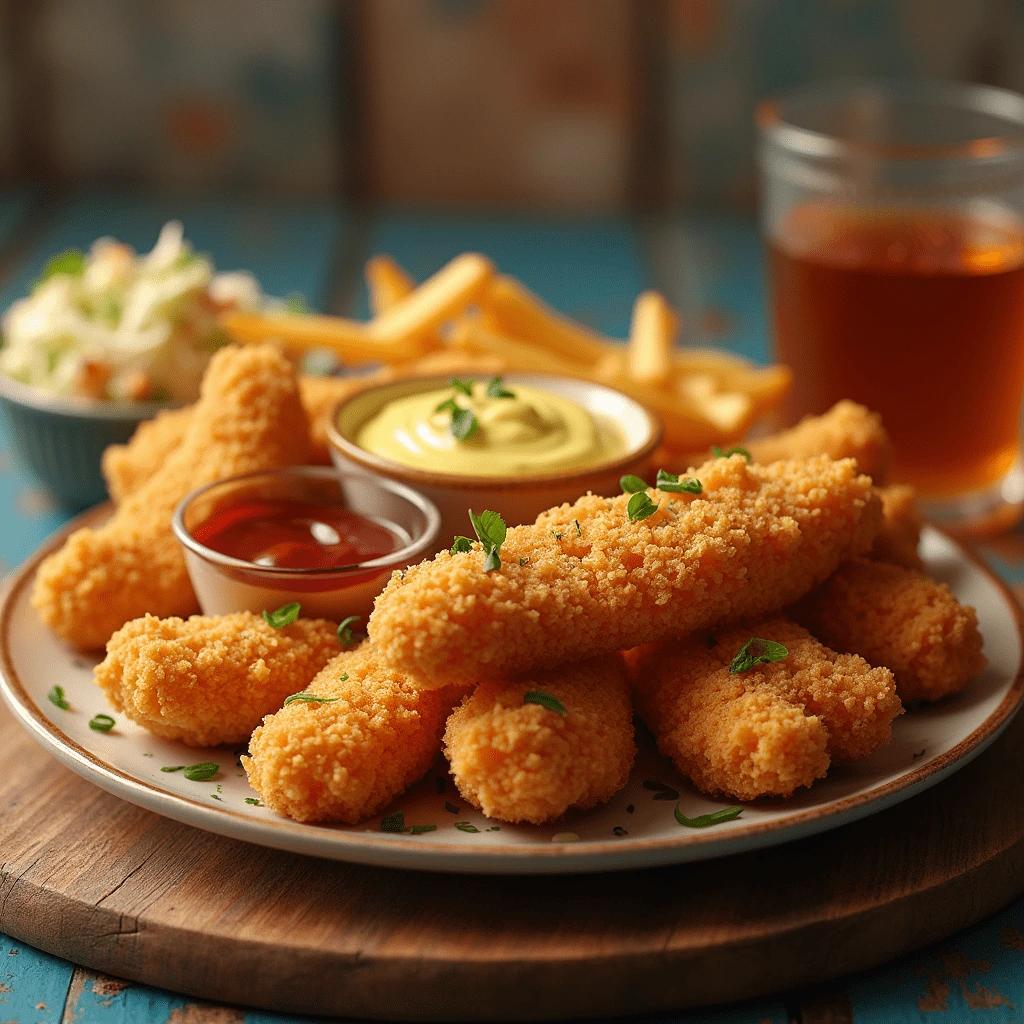
Restaurant Secrets for Maximum Flavor
Want to unlock the secrets behind that irresistible restaurant-style flavor? The magic starts long before the breading process.
Professional Seasoning Blends
Create your signature seasoning blend using these chef-approved ingredients:
- Smoked paprika and garlic powder for depth
- Lemon pepper for citrusy notes
- Italian seasoning or dried parsley for herbal notes
- Cayenne pepper for optional heat
Marination and Brining Methods
The real game-changer is the brine. Professional kitchens use a two-hour brine to ensure perfectly seasoned, juicy chicken. Here’s the proven method:
- Create a brine using pickle juice and buttermilk
- Add a splash of hot sauce for extra flavor
- Submerge chicken completely
- Brine for exactly 2 hours (no longer!)
Sauce and Dip Pairings
Your fried chicken fingers deserve more than just ketchup. Elevate your dipping game with these restaurant-inspired combinations:
- Classic Favorites: Sweet & Sour, Alabama White BBQ, or Restaurant Ranch
- Signature Combinations: Spicy Honey Chipotle or Bang Bang sauce
- Creative Twists: Try tortilla rollups with ranch and sriracha, or transform them into a chicken parmesan with marinara and cheese
Pro Tip: Store your homemade sauces in an airtight container – they’ll stay fresh for 4-5 days in the refrigerator. For maximum flavor impact, consider making a variety of dipping sauces to complement your perfectly seasoned chicken fingers.
Troubleshooting Common Issues
Even experienced cooks encounter challenges when making fried chicken fingers. Here’s how to tackle the most common issues that might arise during your cooking process.
Fixing Breading That Won’t Stick
The key to perfectly adhered breading starts with bone-dry chicken. Pat your pieces completely dry with paper towels before starting the breading process. If your breading keeps falling off, follow these steps:
- Ensure chicken is thoroughly dried
- Use the right amount of flour (excess will cause separation)
- Shake off excess flour between coatings
- Let the breaded pieces rest for 15 minutes before frying
- Avoid moving the chicken too much while frying
Achieving Even Cooking
For perfectly cooked fried chicken fingers, temperature control is crucial. Your oil should start at 375°F, but expect it to drop to around 325°F when you add the chicken. Monitor internal temperature with a meat thermometer – chicken should reach 165°F for safe consumption.
Maintaining Oil Temperature
Temperature fluctuation is one of the biggest culprits behind mediocre results. Here are critical points to remember:
- Never overcrowd your pot – fry in small batches of 1.5 pounds at a time
- If temperature drops below 300°F, remove chicken and allow oil to reheat
- Use a heavy-bottomed pot to maintain consistent heat
- Monitor oil temperature constantly with a reliable thermometer
Pro Tip: If your breading turns out dense rather than crispy, try incorporating cornstarch into your flour mixture. This simple addition helps create that light, crispy texture you’re aiming for.
Remember that letting your chicken rest after frying is crucial – this allows the juices to redistribute, ensuring maximum flavor and preventing the breading from becoming soggy.
Conclusion
Making perfect fried chicken fingers at home requires attention to detail, but mastering these techniques will save you money while delivering restaurant-quality results. Your success depends on proper equipment setup, precise temperature control, and careful attention to the double-dredge breading process.
Professional-level results come from understanding the small details – thoroughly drying your chicken before breading, maintaining consistent oil temperature, and allowing proper rest time between steps. Remember that proper brining and seasoning make the difference between good and exceptional chicken fingers.
Armed with these techniques and troubleshooting tips, you can confidently create crispy, juicy chicken fingers that rival any restaurant version. Start with small batches as you perfect your technique, and soon you’ll master this classic comfort food that your family will request again and again.
FAQs
Q1. How can I ensure the breading sticks to my chicken fingers? To ensure the breading sticks, start with completely dry chicken. Dredge in seasoned flour, dip in an egg wash, then coat again in flour or breadcrumbs. Press the coating firmly onto the chicken and let it rest for 5-15 minutes before frying.
Q2. What’s the secret to keeping chicken tenders juicy when frying? The key to juicy chicken tenders is proper brining and temperature control. Brine the chicken in a mixture of pickle juice and buttermilk for 2 hours before cooking. When frying, maintain an oil temperature between 325-350°F and cook until the internal temperature reaches 165°F.
Q3. What’s the best method for frying chicken tenders? The best method involves a double-dredge technique. Coat the chicken in seasoned flour, dip in an egg wash, then coat again in flour or breadcrumbs. Fry in small batches in oil heated to 365°F, cooking for about 6-8 minutes until golden brown. Use a deep-fry thermometer to maintain consistent oil temperature.
Q4. How do I keep my fried chicken fingers crispy? To keep chicken fingers crispy, drain them on a wire rack set over a baking sheet immediately after frying. This allows air to circulate and prevents the bottom from becoming soggy. You can also keep them warm in a low-temperature oven while finishing the remaining batches.
Q5. What are some professional tips for enhancing the flavor of chicken fingers? To enhance flavor, create a custom seasoning blend using ingredients like smoked paprika, garlic powder, and lemon pepper. Brine the chicken in pickle juice and buttermilk with a splash of hot sauce for 2 hours before cooking. Serve with a variety of homemade dipping sauces like sweet & sour, Alabama white BBQ, or spicy honey chipotle for added flavor dimensions.
You May Also Like
Leave a Comment & Rate this Recipe
Comments
There are no reviews yet. Be the first one to write one.

