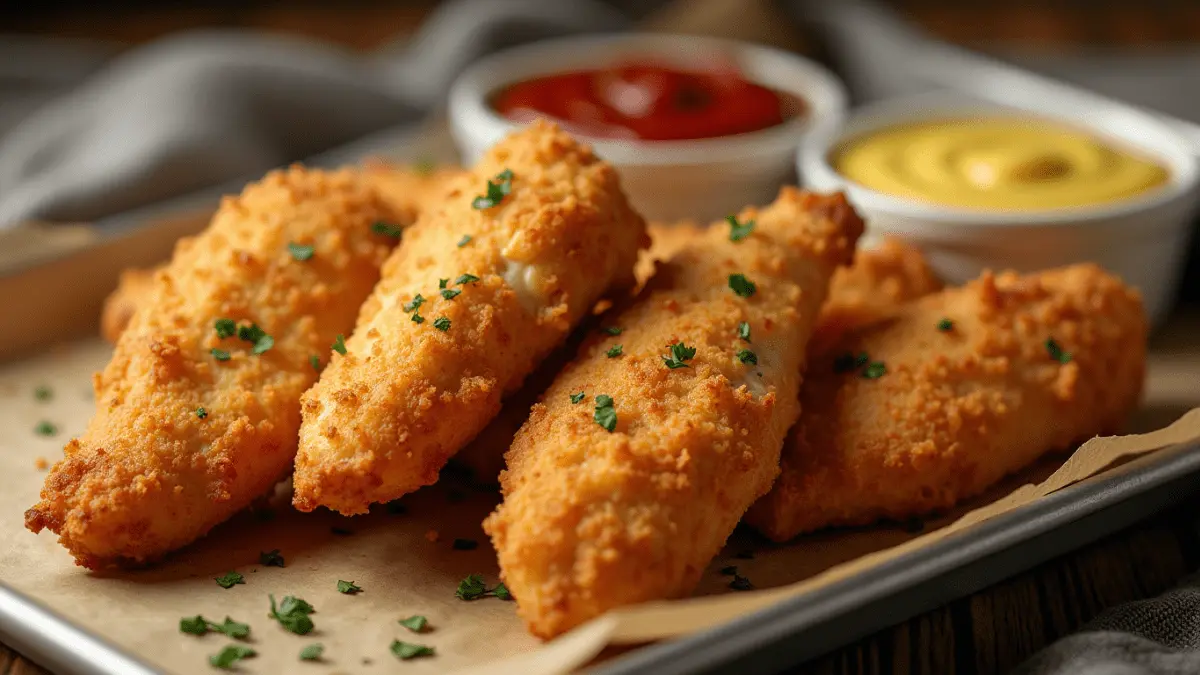
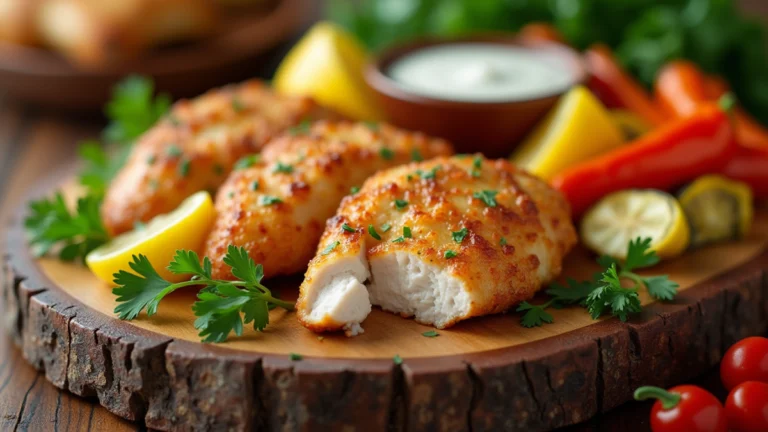
Making restaurant-style chicken tenders at home seems like a daunting challenge. Most home cooks end up with dry, tasteless results and can’t figure out why. Whether you’re looking for oven baked chicken tenders recipes or easy chicken tenders recipes, we’ve got you covered.
A few simple principles are the foundations of perfect oven baked chicken tenders. These crispy, juicy, and delicious chicken strips become easy to prepare when you understand the right techniques and timing. Learning how to cook chicken tenders properly will elevate your homemade oven baked chicken tenders game.
This piece reveals 5 professional secrets that will revolutionize your oven baked chicken tenders preparation. You’ll discover why tenders stay juicy, how to prep them properly, create amazing flavors, and nail the perfect bake every time. These tips work for various styles, including breaded chicken tenders and even no breading options.
Table of Contents
The Science Behind Perfect Chicken Tenders
Perfect oven baked chicken tenders require a solid understanding of poultry meat science. Your kitchen success depends on becoming skilled at these basic principles, whether you’re making chicken fingers or chicken breast tenders.
Understanding meat protein structure
Chicken tenders contain about 20-23% protein, which falls into three main categories: myofibrillar (salt-soluble), sarcoplasmic (water-soluble), and stromal proteins. Myofibrillar proteins make up 50-56% of the total muscle protein. These proteins determine your chicken’s texture, whether you’re making baked chicken fingers or oven fried chicken tenders.
Impact of temperature on juiciness
The right temperature makes chicken tenders juicy. Proteins start to denature and release trapped moisture during cooking. Here’s what happens at specific temperatures:
| Temperature | Effect on Meat |
| 165°F (74°C) | Instant bacterial death |
| 170-175°F (76.7-79.4°C) | Optimal for dark meat tenderness |
| 155°F (68°C) | Safe when held for 60 seconds |
Role of marinades in tenderizing
Marinades can transform your chicken by combining three key elements:
- Oils: Help retain moisture during cooking (olive oil works great)
- Acids: Break down dense proteins
- Seasonings: Boost flavor profile
Acidic marinades need 30 minutes to 2 hours to work on boneless pieces. Creamy marinades can work up to 8 hours. The acid breaks down the protein structure, and oils lock in moisture. This combination keeps your oven baked chicken tenders juicy throughout cooking.
Note that excessive marinating can make your chicken tough. The right timing is vital to achieve perfect texture.
Essential Preparation Techniques
Perfect chicken tenders start with proper preparation. Let’s take a closer look at the techniques that will raise your cooking game for delicious baked chicken tenderloins.
Proper chicken tender trimming
Quality chicken tenderloins make a better choice than breast strips as they’re naturally tender. You’ll need to remove the tough white tendon to get the best results. Here’s the fork method to remove tendon:
- Grip the tendon with a paper towel
- Slide the tendon through fork tines
- Pull firmly while the fork holds the meat in place
The chicken pieces should be cut into uniform strips about 1 inch wide and 3-4 inches long. This will give a consistent cooking result for your oven baked chicken tenders.
Optimal marination times
Your chicken tenders’ success depends on marination timing. The meat needs at least 30 minutes, but shouldn’t stay in marinade beyond 24 hours. Here’s what works best:
- Minimum time: 30-60 minutes
- Ideal time: 6-12 hours
- Maximum time: 24 hours to avoid mushy texture

Temperature considerations
The right temperature matters even before cooking begins. Room temperature marinated chicken works best for baking. Follow these steps for safety:
- Set your oven to 425°F to get crispy results
- Cook until internal temperature hits 165 degrees Fahrenheit
- The tenders need rest time after cooking for maximum juiciness
Pro tip: Frozen tenders should thaw completely in the refrigerator overnight. This helps even cooking and proper marinade absorption.
Seasoning Secrets for Maximum Flavor
Delicious oven baked chicken tenders start when you become skilled at seasoning. Let’s discover the secrets that bring maximum flavor to every bite of your homemade chicken tenders.
Dry rub combinations
A perfect dry rub combines simple pantry staples to create amazing flavors. A winning combination has onion powder, garlic powder, paprika, salt, and black pepper. Brown sugar adds an extra dimension of flavor and helps caramelize the chicken’s exterior. You can also experiment with Italian seasoning for a different flavor profile.
Here’s a proven spice blend ratio for 1 pound of chicken tenders:
| Spice | Amount |
| Paprika | 1 tsp |
| Garlic Powder | 1 tsp |
| Onion Powder | 1 tsp |
| Salt | 1½ tsp |
| Black Pepper | ¼ tsp |
Marinade flavor profiles
The best marinades balance three elements to achieve optimal results:
- Acids: Lemon juice or vinegar for tenderizing
- Oils: For moisture retention (olive oil is a great choice)
- Seasonings: For flavor depth
A traditional buttermilk marinade blends 1 cup of buttermilk with paprika, garlic powder, and cayenne pepper. This mixture enhances flavor while tenderizing your chicken tenders. For a gluten-free option, you can use tamari instead of soy sauce in your marinades.
Timing of seasoning application
Proper timing plays a vital role in flavor development. For dry rubs:
- Apply right before cooking for simple seasoning
- Rest for 30 minutes to achieve deeper flavor penetration
- Season and wait up to 12 hours for maximum flavor
Pro tip: Drizzle melted butter over your seasoned tenders just before baking for extra-crispy results. Any leftover dry rub mixture stays fresh in an airtight container for up to 6 months.
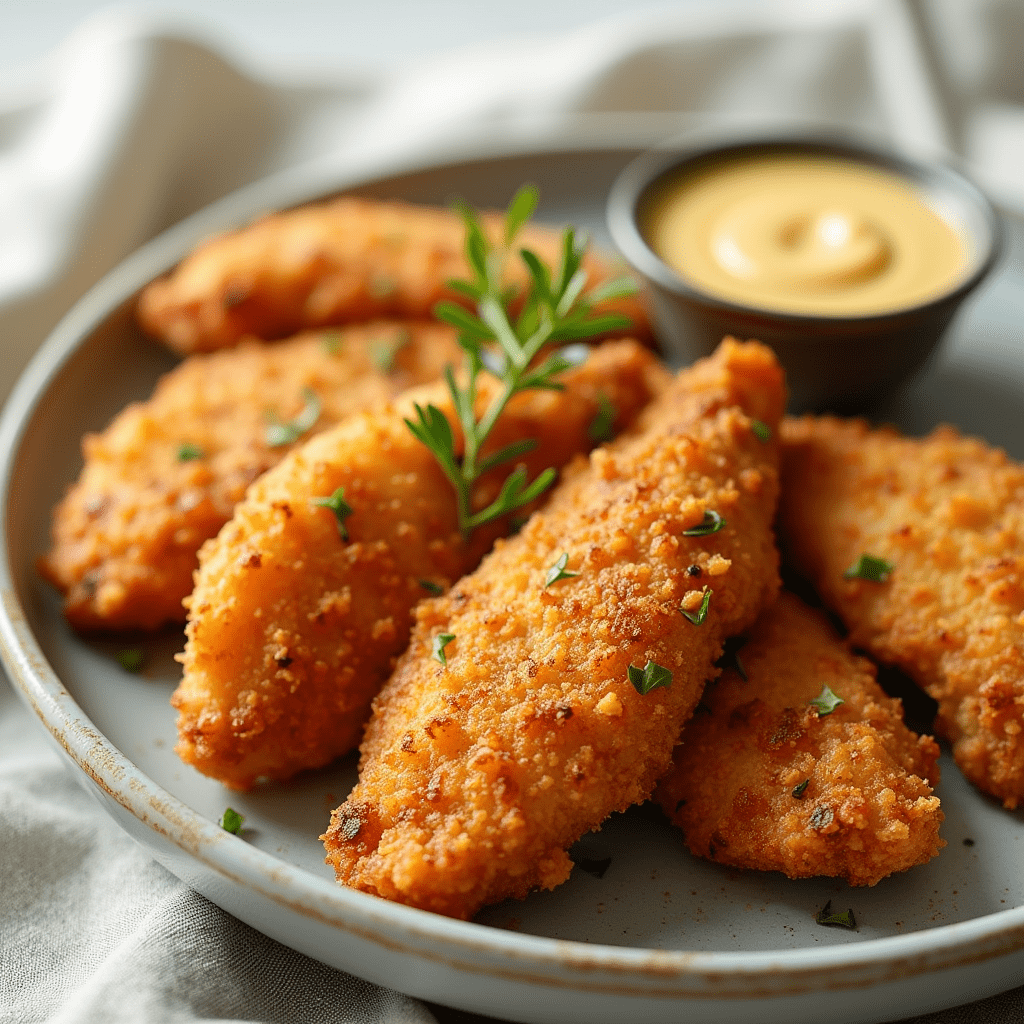
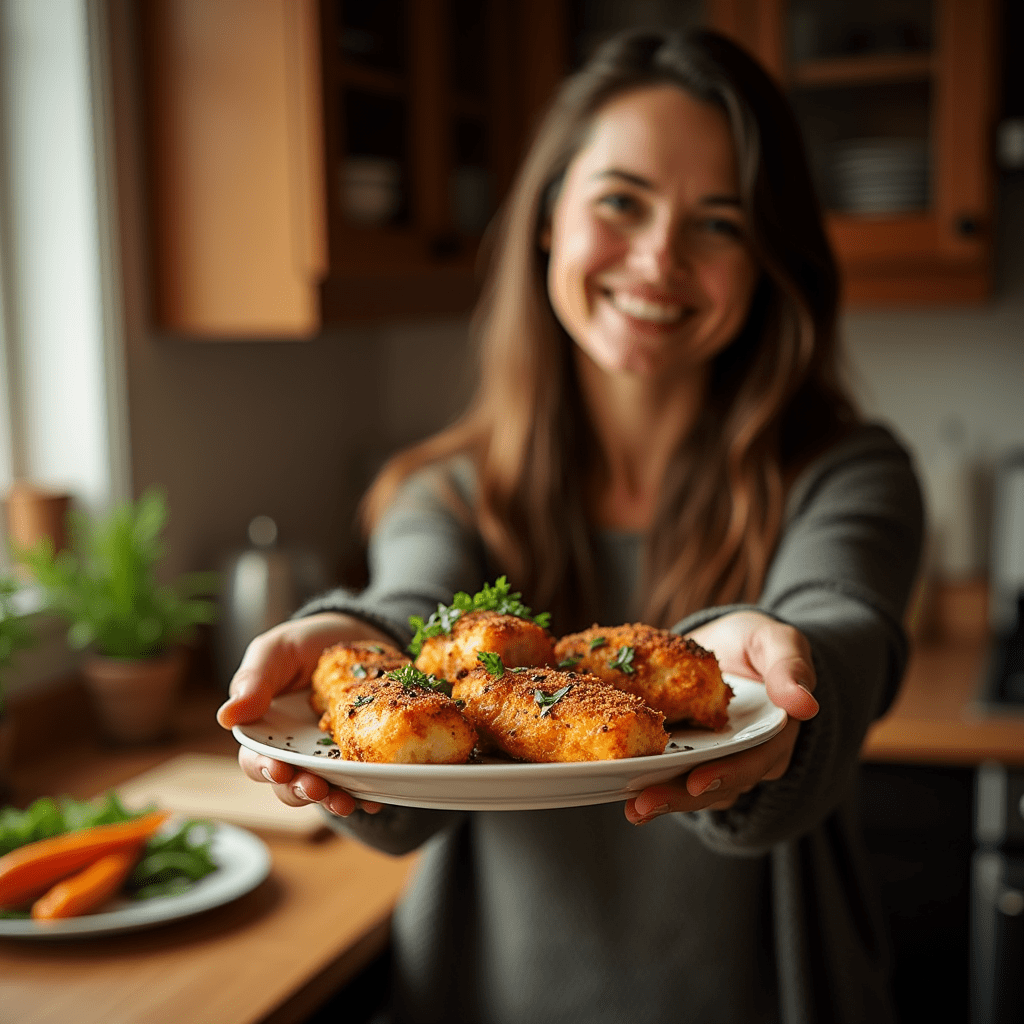
Mastering the Baking Process
Perfect oven baked chicken tenders need proper baking techniques. Let’s explore the vital elements that help create a delicious meal from your seasoned tenders, whether you’re making breaded chicken tenders or a healthier no breading version.
Oven temperature strategies
The oven temperature you choose will greatly affect your final result. Chicken tenders can be baked at different temperatures, and each temperature setting provides unique benefits:
| Temperature | Cooking Style | Result |
| 350°F | Low and slow | More even cooking, juicier |
| 400°F | Quick cooking | Faster results, crispier exterior |
| 425°F | High heat | Golden brown exterior, 10-15 minutes |
Timing and doneness indicators
Perfect tenders need the right timing and temperature monitoring. These signs will tell you when your chicken is ready:
- Use a meat thermometer to verify 165°F internal temperature
- Look for clear (not pink) juices when pierced
- Check that the chicken has slightly shrunk in size
Your tenders should bake for 15-20 minutes, but the cooking time depends on their thickness. This is crucial when considering how long to bake chicken tenders.
Resting period importance
The resting period after baking is essential. A 10-minute rest reduces moisture loss by up to 60%. This step matters because it:
- Allows juices to redistribute throughout the meat
- Prevents dry, tough texture
- Makes the chicken more tender and flavorful
Pro tip: Let your chicken tenders rest for 10-15 minutes under loose foil. This brief wait will enhance your dish’s texture and juiciness.
Conclusion
The secret to perfect oven baked chicken tenders lies in mastering several essential elements. Your chicken tenders will match restaurant quality when you understand protein structure, proper preparation techniques, and strategic seasoning combinations.
Temperature control is the life-blood of success. This includes everything from marination timing to precise oven settings and final internal temperature readings. The process continues even after you take your tenders out of the oven. Those significant 10-15 minutes of resting time distinguish good results from exceptional ones.
Professional secrets combine to create chicken tenders that remain juicy inside while developing a perfectly seasoned, golden-brown exterior. You can elevate your chicken tender preparation from simple to brilliant. Start with one technique at a time and practice the methods outlined here.
Whether you’re making crunchy breaded chicken tenders or a healthier no breading version, these tips will help you create the perfect oven baked chicken tenders. They’re not just delicious – they’re also a kid-friendly, easy weeknight meal option that the whole family will love.
FAQs
Q1. How long to bake chicken tenders in the oven? Bake chicken tenders at 400°F (204°C) for 15-20 minutes, flipping halfway. Make sure the internal temp reaches 165°F (74°C).
Q2. How can I ensure my oven baked chicken tenders stay moist? To keep chicken tenders moist, bake them at a high temperature (around 425°F) for a shorter time, about 15-20 minutes. Brush them with melted butter or olive oil before baking, and let them rest for 10-15 minutes after cooking to allow juices to redistribute.
Q3. What’s the key to making chicken tenders tender and juicy? The secret to tender and juicy chicken tenders lies in proper marination. Use a marinade that combines acid (like lemon juice) to break down proteins, oil for moisture retention, and seasonings for flavor. Marinate for at least 30 minutes, but no longer than 24 hours to avoid a mushy texture.
Q4. How important is the resting period after baking chicken tenders? The resting period is crucial for juicy chicken tenders. Allow them to rest for 10-15 minutes under loose foil after baking. This reduces moisture loss by up to 60% and allows the juices to redistribute throughout the meat, resulting in a more tender and flavorful dish.
Q5. What’s the best way to season chicken tenders for maximum flavor? For maximum flavor, use a combination of dry rub and marinade. A good dry rub includes spices like paprika, garlic powder, onion powder, salt, and black pepper. Apply the seasoning at least 30 minutes before cooking for deeper flavor penetration, or up to 12 hours for maximum impact.
Q6. How do I know when my chicken tenders are fully cooked? To ensure your chicken tenders are fully cooked, use a meat thermometer to verify that the internal temperature has reached 165 degrees Fahrenheit. Additionally, look for clear (not pink) juices when the meat is pierced, and check that the chicken has slightly shrunk in size. Typically, baking for 15-20 minutes at 425°F should be sufficient, but cooking time may vary based on thickness.
You May Also Like
Leave a Comment & Rate this Recipe
Comments
There are no reviews yet. Be the first one to write one.

